How To Install Google Analytics And Webmasters Tools – A Step By Step Guide
Any Blogger or website owner really needs to have Google analytics and Google Webmasters tools Installed on their site.
You need to have Google on your side and knowing you exist. Having Analytics will allow you to see all sorts of metrics and data about your site. You can find out how many visitors you are getting, where from and so much more. Webmasters Tools helps you to understand what keywords are working and allows you to get indexed quicker by using their crawl function. Read my post on the 7 things you should do once you publish your post.
Webmasters Tools also helps you to see whether your site is functioning properly too. There is so much that Google Analytics and Google Webmasters tools can help you with. The best thing is they are free. Never pay for any analytics service. You have the best there is in these two.
This post is going to be a step by step walk through of the process as I know some people find it difficult especially as sometimes when Google uses jargon in their explanations and directions it can be confusing.
I will be using a site which I have set up for the purposes of demonstrating all of my how to posts as obviously this one has everything set up on it.
One thing you need to understand is that you will need to be using one of two SEO plugins. All of my sites use All in One SEO as this is my preference but I have installed Yoast on my sample site so I can show you the difference between the two.
Google Analytics
Step One: Go To https://google.com/analytics choose sign in or create account. This link will open in a new page so you can switch between my advice and applying it.
Step Two: Choose Universal
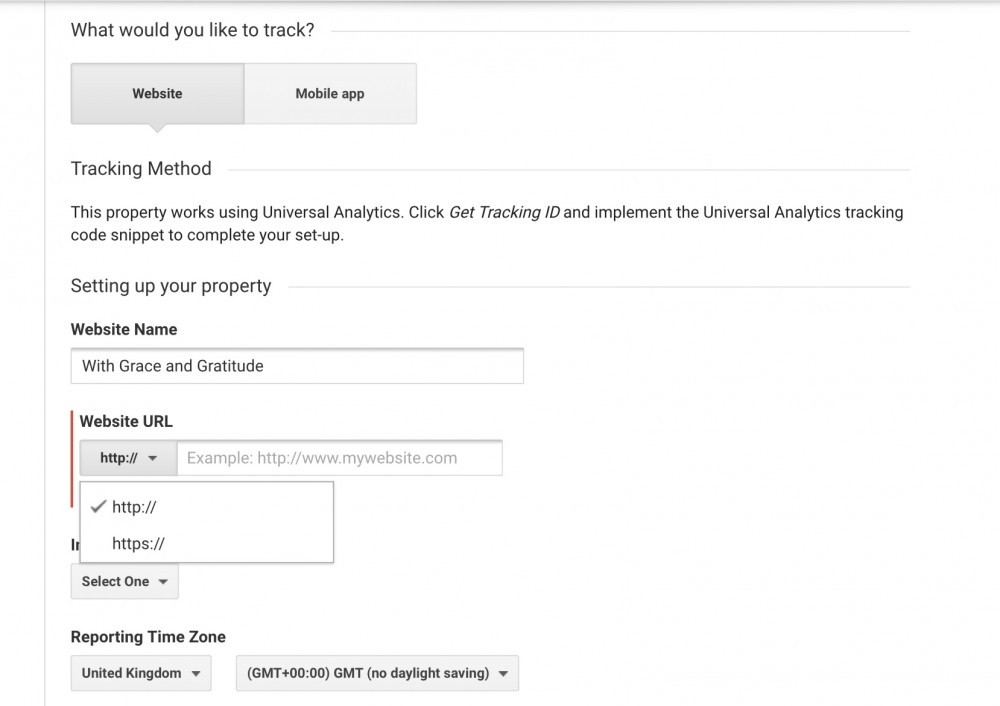
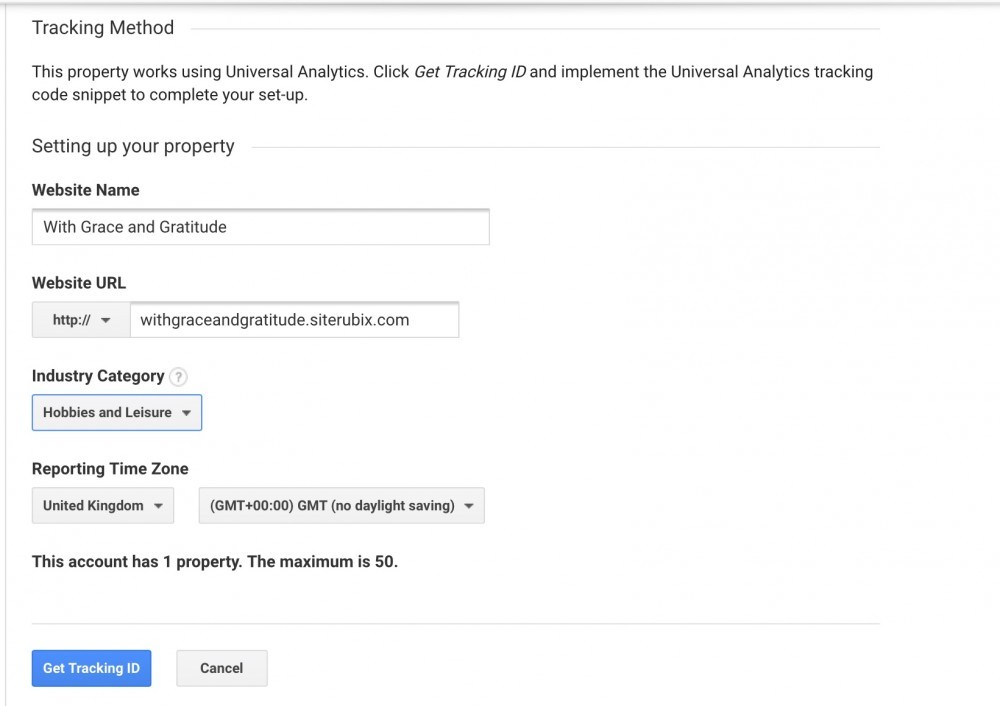
Step Three: Put in the following details :
Account name ( you can have many sites under this account name so you can call it anything relevant to you)
Website Name
Website URL ( the best way to do this so you don’t make a mistake is to go to your homepage and copy and paste link) take out the http:// part as they already have it there. If you are https:// make sure to change it.
Choose an appropriate Industry
Choose your time Zone
Underneath all of this you will see 3 boxes already ticked. These are all about data sharing. Personally I untick them all.
Step Four: Click Get tracking ID. This will open a box with lots of information which no one reads. Just choose Country at the bottom and then accept.
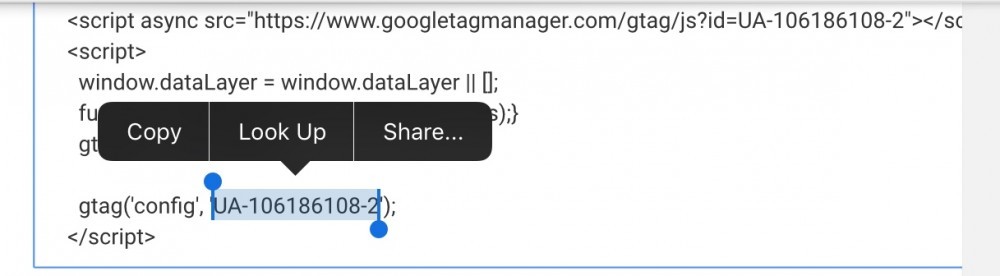
Step Five: you will now be on a page with your unique tracking ID which will start with UA. Copy this. If you should see just a lot of code as in this picture you need only copy the part I have highlighted.
I think I got this as I already have sites registered. It may come up as just the actual code for you.
All in One SEO
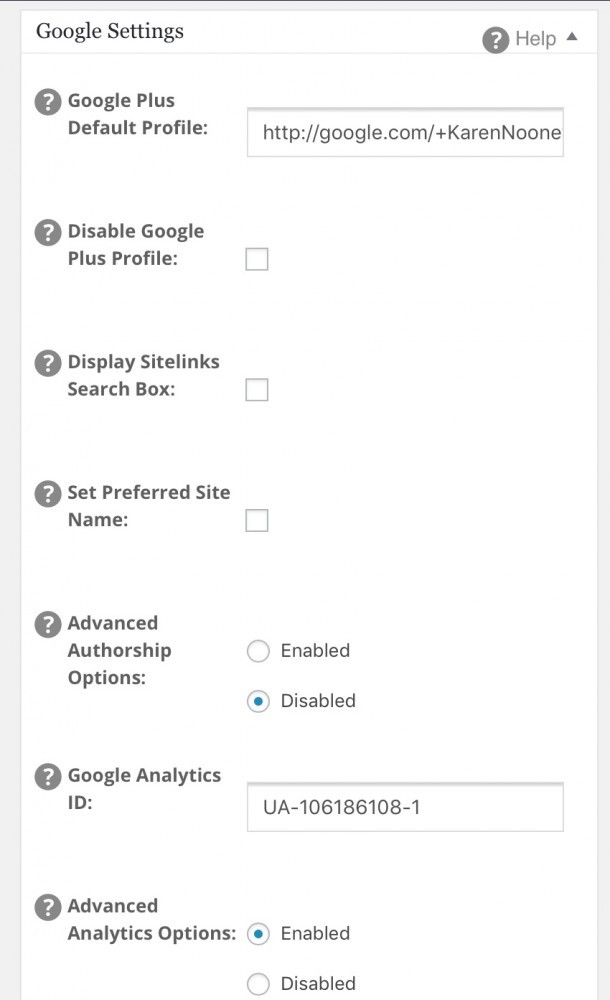
Step Six: Go to your back office and click on All In One SEO
Step Seven: Click on General Settings and scroll down until you reach Google settings
Step Eight: Add the ID you copied. You can see I have enabled advanced settings but disabled advanced authorship.
Step Nine: Update settings
Step Ten: Go back to your Google analytics page and see that it has been installed. If it says not installed, don’t panic it does have a habit of doing this. If you want to check it’s working. Go to your website as a visitor then click on Home in Google analytics, then Reporting, then Real Time in left hand column and then Overview. You will see yourself as a visitor on your site if it has worked.
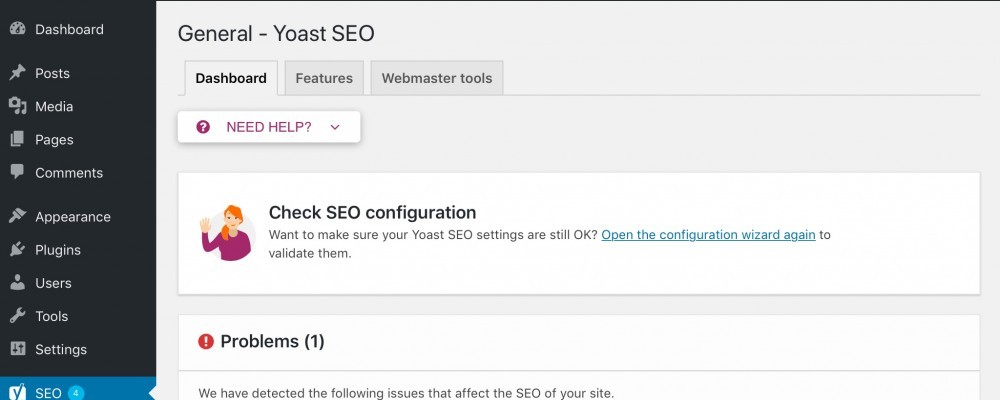
Yoast Plugin
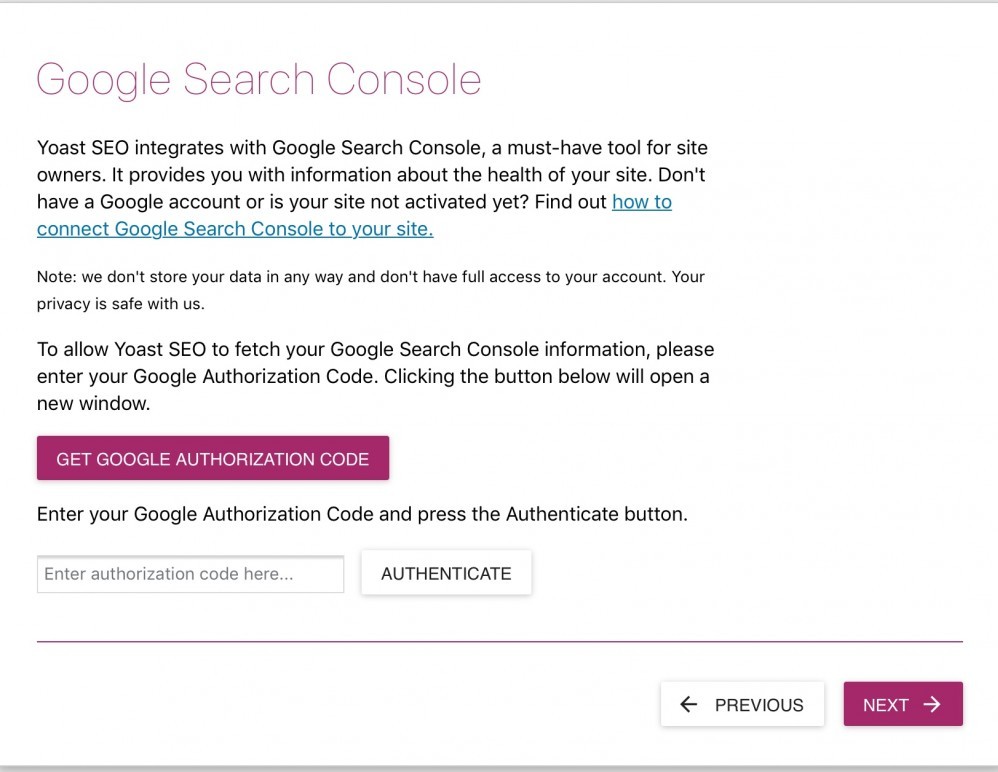
Step Six: Go To Yoast And Click On General Settings and Then Webmaster Tools
Step Seven: Paste Code Into Google Verification and Save Changes
Step Eight: Go back to your Google analytics page and see that it has been installed. If it says not installed, don’t panic it does have a habit of doing this. If you want to check it’s working. Go to your website as a visitor then click on Home in Google analytics, then Reporting, then real time in left hand column and then Overview. You will see yourself as a visitor on your site if it is working.
Google Webmaster Tools
Step One: Go to https://google.com/webmasters/tools. If you already have a google account of any kind you will be able to log in. If not you will have to sign up for a google account. If you have done Google Analytics first which I recommend then you will have your account.
Step Two: Add your site. Do not put in the www. Part in. This is practically defunct now. As you can see I have put just withgraceandgratitude@siterubix.com
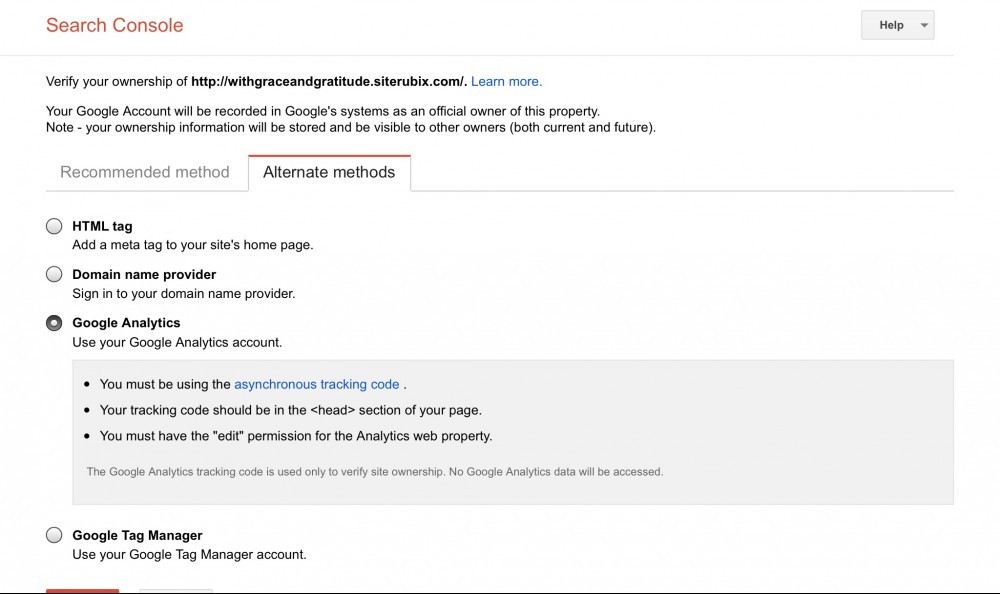
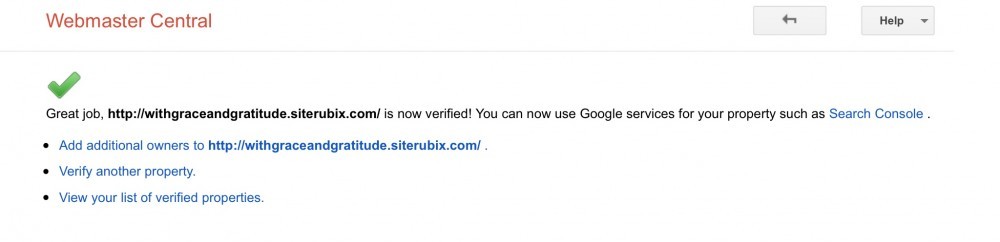
Step Three: Now you will see the recommended way to verify your account which is through Google analytics. Press Verify and you should get a success message
The Following Steps should only be done if the above fails. Despite having google analytics for my site it did not work for me. Personally I think this is because I used Yoast instead of All in One SEO.
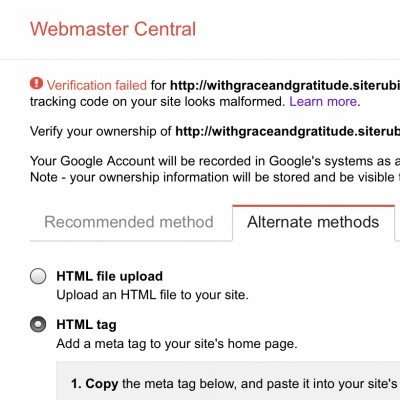
Step Four: If you haven’t got Google Analytics or if the verification through Google analytics doesn’t work you need to click on alternative methods.
Step Five: Choose HTML Tag. Now copy the whole code
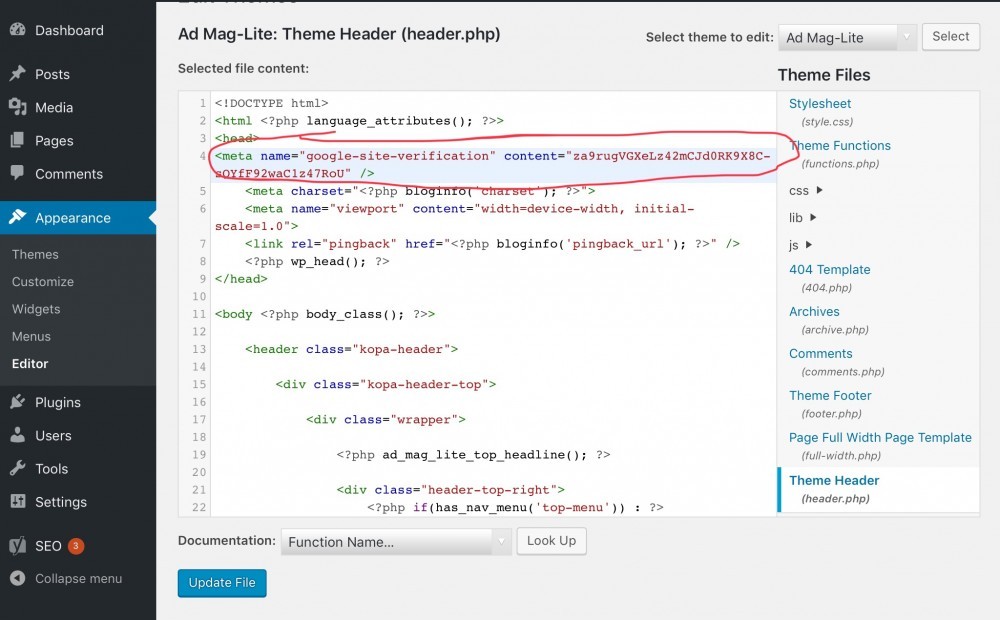
Step Six: Go to your website back office and choose Appearance and then Editor from the left column.
Step Seven: Choose Theme Header from right hand column. Now you will see a lot of code like in the picture.
Step Eight: Paste Code in the line underneath the first <head> You see. I have highlighted it in the image for you. Click update.
Step Nine: Go back to Webmaster tools and click verify and you should get a confirmation of success.
Now you have Google analytics and Google Webmasters tools set up on your site, I suggest leaving it for about a week because they will take time to start pulling data from your site. After that go on in to both of them and have a play around with their functions. Using and understanding them all is a whole post or 3!
I hope you have found this step by step guide to installing Google Analytics and Webmasters tools useful.
If you have any questions just leave them in the comments below and I will get back to you as soon as I can.
If you want to know where I learnt all of this and much more, take a read of my review of Wealthy Affiliate, the best training platform on the internet today.
I actually signed up for Google Analytics with Yoast. Your step by step help is really simple. Google Analytics is a great tool for anyone with a website. As a matter of fact, I also found Wealthy Affiliate and learned how to do this in their training. Wealthy Affiliate definitely offers the right training for anyone who wants to have success on the internet. I certainly won’t give up on them for another.


Carol
atI actually signed up for Google Analytics with Yoast. Your step by step help is really simple. Google Analytics is a great tool for anyone with a website. As a matter of fact, I also found Wealthy Affiliate and learned how to do this in their training. Wealthy Affiliate definitely offers the right training for anyone who wants to have success on the internet. I certainly won’t give up on them for another.
Karen Noone
atHi Carol and thanks for reading,
There are people who prefer a Yoast and others All in One SEO. Just a question of preference. Probably not much to choose between;the two.
I’m pleased you found Wealthy affiliate The Training is just awesome.
With Grace and Gratitude
Karen